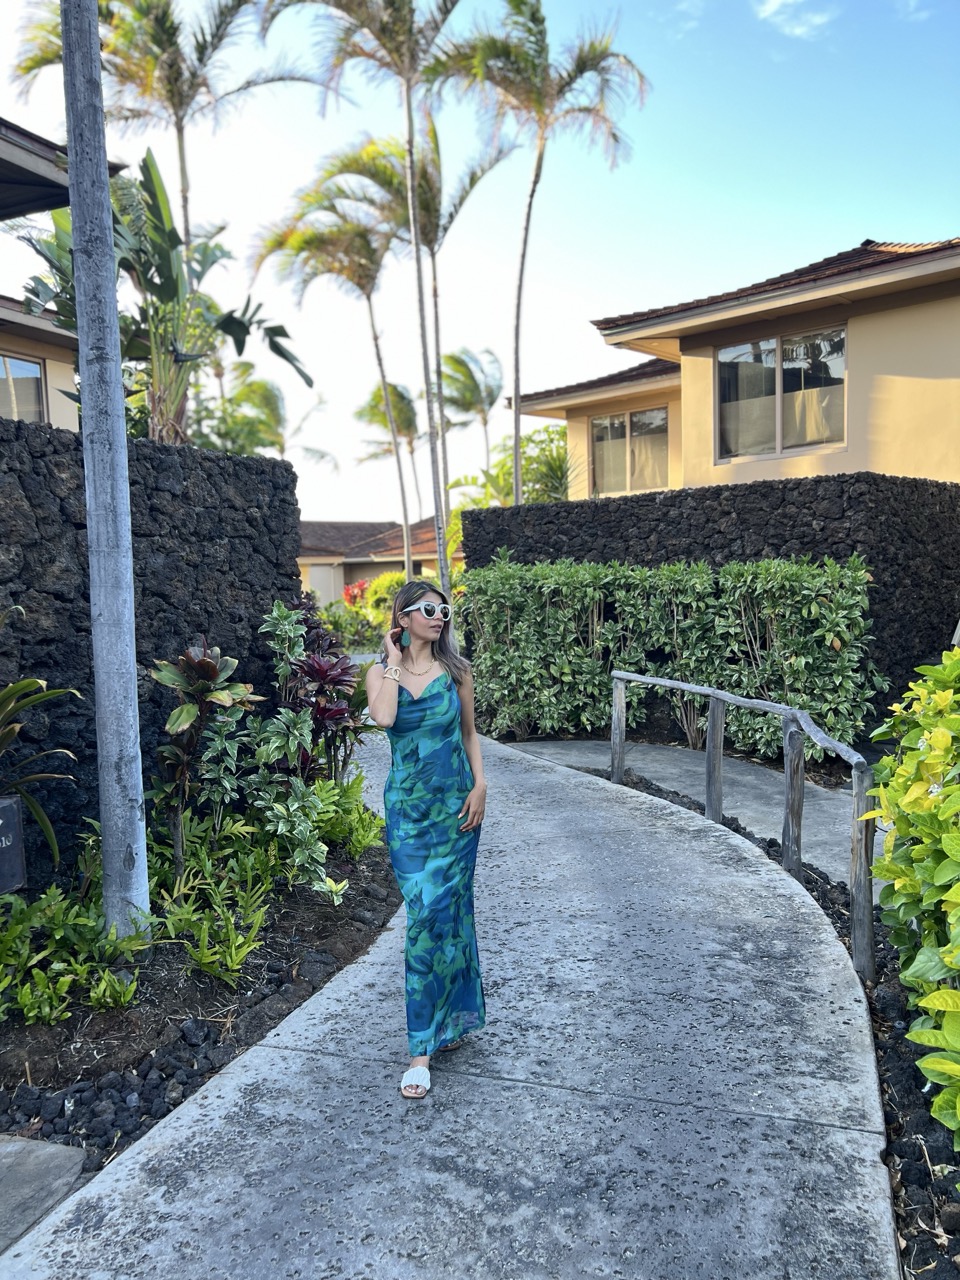
If you’ve been following my travel blog for a while now, you know that my husband and I aren’t really the “sit by the pool with a Mai Tai” kind of couple. We love being outdoors, we love a good hike, we love National Parks and we’re usually trying to pack as much as humanly possible into every single day!
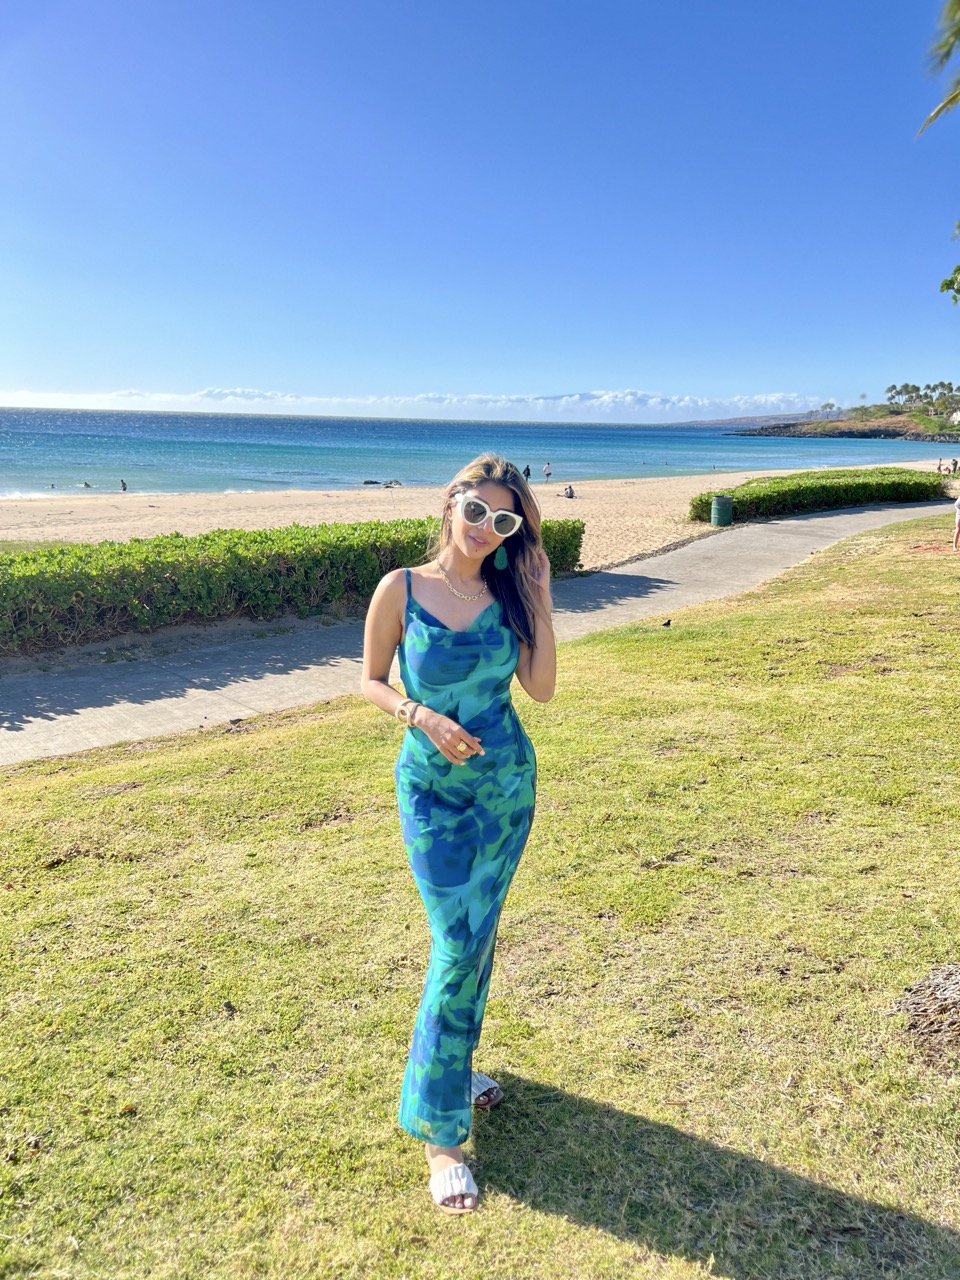
For our anniversary last year, we decided to skip the winter chill and headed to the Big Island in Hawaii in April. Our actual anniversary was in January, but we waited until April for that perfect weather window—and let me tell you, it was so worth the wait. Also, it is our annual ritual that we take an island trip every year on our anniversary because we both love islands so much!
The Big Island is unlike any other Hawaiian island. It’s huge, it’s raw, and it feels like you’re visiting four different planets in one week. Whether you want to walk through a literal lava tube or watch the sunset from a black sand beach, this place has it.
Before we jump into the actual 5-day itinerary for Big Island, I wanted to share a few important tips to help you plan your own “delayed” celebration or adventure trip!
How many days are enough for the Big Island?
Honestly? You could spend two weeks here and still not see it all. It’s called the “Big” Island for a reason! We did 5 days of heavy exploring, and while we saw a ton, I’d recommend at least 7 to 10 days if you want to actually slow down and breathe. But if you’re like us and don’t mind a bit of a “hustle” itinerary or don’t have that much time to spare, 5 days will give you a great highlight reel.
Best time to visit?
We went in April and it was perfect. January through March can be a bit rainier (especially on the Hilo side), so April offered that sweet spot of lush greenery without the constant downpours. We did get some light showers here and there, but nothing as major to disrupt our plans. Plus, you beat the massive summer crowds and save money!
What to pack?
- Proper Hike Shoes: I cannot stress this enough. The volcanic rock is sharp and slippery. Don’t try to hike Pololu Valley in flip-flops!
- Rain Jacket & Sweaters: Hilo is one of the wettest cities in the US, and the Volcano National Park gets cold at night. The weather on islands is usually unpredictable so be prepared for rain or cold and pack accordingly. Also, some spots on the island can get very windy through the day so carrying a light jacket will help.
- Sunscreen & Sun Hats: There is very little shade on the lava fields.
- Snorkeling Gear: If you have your own, bring it! The water is crystal clear.
- Umbrellas: Because it can rain anytime, even if its a light shower, it will be good to carry an umbrella and if you’ll be renting a car and driving around, you can just store it in your car.
Where to stay?
We explored the West, East and South parts of the island so we moved around a bit. We started our trip with the Western part so we stayed in the Royal Kona Resort for the first half of our trip. Its a beautiful oceanfront property and we had a great experience overall. It is very reasonably priced so if you’re looking for a waterfront experience without making a dent in your pocket, check this resort out.
For the second half of our trip, we stayed on the east side of the island and rented an airbnb. However, you could also choose to stay in the Volcano Village which will give you a rustic village experience in the middle of a lush rainforest. It’s so tranquil and feels worlds away from the touristy resorts.
How to get around (and do you really need a car?)
Short answer: Yes, 100%. If you remember from my Banff post, I mentioned that having a car is the only way to get true flexibility, and that is even more true here. The Big Island is twice the size of all the other Hawaiian islands combined! You’ll be driving through lava fields, rainforests, and mountain strips—often all in the same day.
- Renting a Car: We went with a traditional rental company through Expedia and pre-booked our car before the trip, but Turo is also a huge thing here just like in Canada. We have had a great experience with Turo every time we’ve tried it so I would recommend that as well. If you want a specific “island vibe” Jeep or a 4WD (which you’ll need if you plan on going to the very top of Mauna Kea), Turo is a great option.
- Do you need 4WD? For this specific itinerary, a standard SUV or even a sedan is fine. We rented a standard SUV and that worked just fine for us because most of the main spots we hit like Volcano National Park and the Hilo waterfalls are on well-paved roads. However, if you’re feeling adventurous and want to do some off-roading or head to certain remote beaches, 4WD is a lifesaver.
- Public Transport: There is the Hele-On Bus, and it’s actually free right now! But, it’s mostly designed for locals commuting between Hilo and Kona. For a “packed” itinerary like ours where you’re hitting five different spots a day, the bus just won’t work. It would take you hours to get where a car takes you in 30 minutes.
- Pro Tip on Gas: Gas is expensive on the island, and stations can be few and far between once you leave the main towns. Never let your tank get below a quarter, especially when you’re heading toward the South Point or the Chain of Craters Road—there are zero gas stations inside the National Park!
And now, let’s dive into the fun part – the itinerary!
DAY 1 – LANDING IN KONA
We landed around 7:00 PM at the Kona International Airport and kept it super simple. Since we knew we had a packed day the next day, we just stayed at a spot close to the airport to avoid driving too much.
Pro-tip: Pick up your rental car and grab some basic snacks/water tonight so you can hit the road early in the morning!
DAY 2 – KONA WEST & NORTH COAST ADVENTURE
This day was all about those dramatic Northern views of the island and some local vibes. You will need proper hike shoes for this day because it includes hikes and trails so make sure you prepare accordingly. Also, make sure to carry a light jacket as some viewpoints can get very windy. A hair scrunchy/rubber band would also be handy if you don’t want your hair getting messed up from the wind.
Here is a google map link that you can follow for this day.
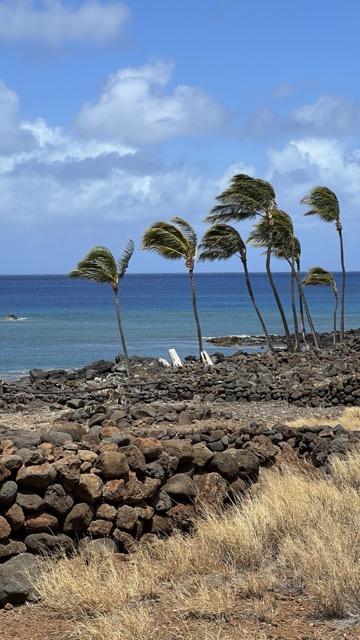
Stop 1 – Lapakahi State Historical Park
This place was incredibly peaceful and offers some amazing views of the ocean but it was very windy. Its a partially restored coastal village that dates back over 600 years. It was so cool to walk among the ancient stone ruins and see exactly how the early Hawaiians lived and fished—it really gives you a deep respect for the land before you continue your drive.
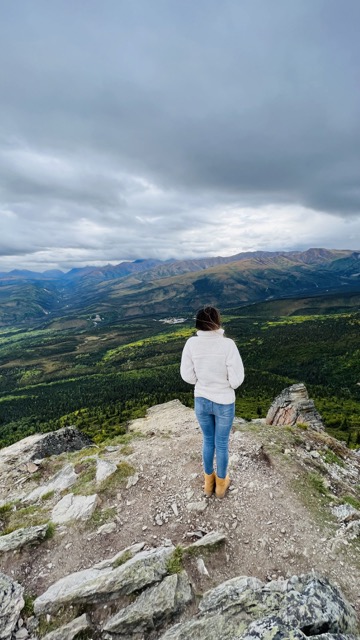
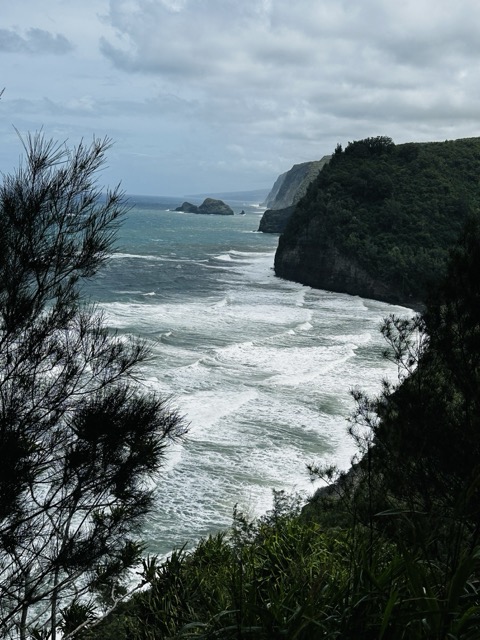
Stop 2 – Pololu Valley Lookout
Next stop was the Polulu Valley Lookout. The views are stunning and its one of those places where the photos just don’t do it justice—the contrast between the deep green cliffs and the crashing blue surf is absolutely wild. Standing at the top gives you that “edge of the world” feeling, and it’s the perfect spot to just take a breath before you start the trek down to the black sand floor.
Below are some pictures from this lookout.

Stop 3 – Pololu Trail Hike
It’s a rocky 0.9-mile trail that takes less than 30 minutes. It leads to a spectacular black sand beach. It gets steep and slippery.
Stop 4 – Historic Hawi Town
After the hike, we explored Hawi for a bit for that old-school Hawaii charm. Its a colorful, quirky town that was once the heart of the sugar industry but now feels like a hub for local artists and cute boutiques. We loved walking past the bright storefronts, and honestly, the laid-back, ‘old Hawaii’ vibe here is exactly the kind of off-beat experience we look for on these trips.
We stopped and grabbed lunch at the Bamboo Restaurant and the food was delicious.
Stop 5 – Kuki’o Beach
On our way back to the resort, we made a stop at the Kuki’o Beach. It is basically tucked away behind a gated resort area but you can still go in. It’s a stunning stretch of white sand and lava rocks where we saw some of the biggest sea turtles just chilling on the shore. It’s much quieter than the main tourist beaches, making it the perfect ‘secret’ spot to just soak in the views for an hour. You can also hang out here if you want to catch a beautiful sunset. It was very windy here as well so be prepared.
Stop 6 – Kua Bay (Maniniʻowali Beach)
This was our last stop of the day and was truly “jaw-dropping” moment. Try to reach before 7:00 PM for the sunset. Bring a hat/umbrella because there is zero shade here!
We ended the night at Foster’s Kitchen. Highly recommend their Coconut Grove location!
DAY 3 – THE DEEP SOUTH & VOLCANO BOUND
We headed south today to see the most southern point of the entire US!
Pro tip: Make sure to pack lunch before heading out if you’re going to be following this itinerary as is. There are not many spots on the way so if you don’t want the stress of finding something last minute, go prepared.
Here is the link to the google map that we followed for this day.
Stop 1- Greenwell Farms
You can’t come to Kona and skip a coffee tour. We did the 10:00 AM tour and here’s the link we used to prebook our tour online. If you plan to do this one, plan to arrive 10 minutes early. I highly recommend this tour because it was a very insightful tour, specially for a coffee lover like me. Our tour guide walked us through the whole process of growing coffee beans and we also saw the plantations and got to walk around their massive property. They also had free coffee samples for us to taste, and we got back some coffee beans too.
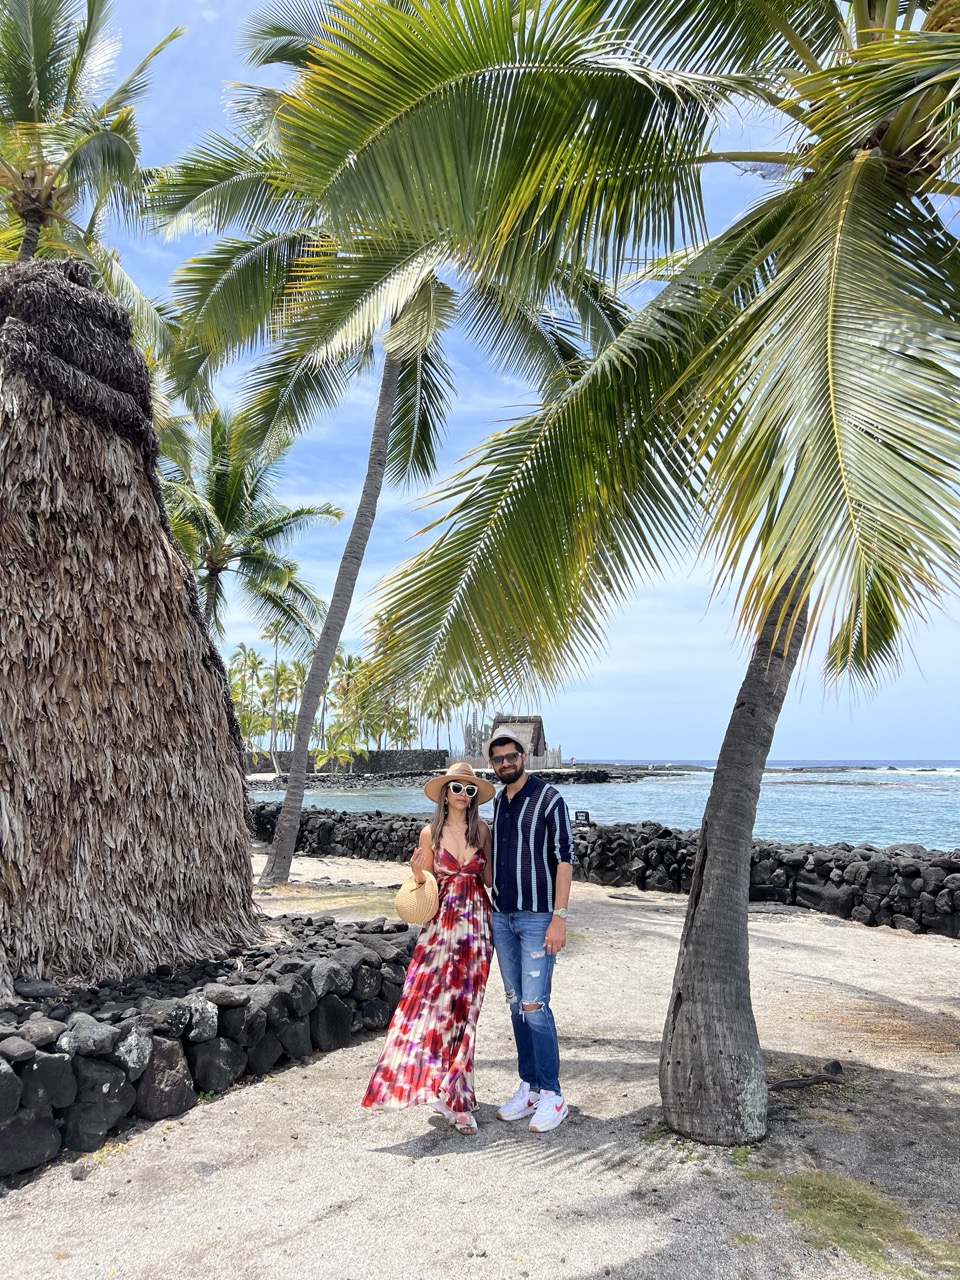
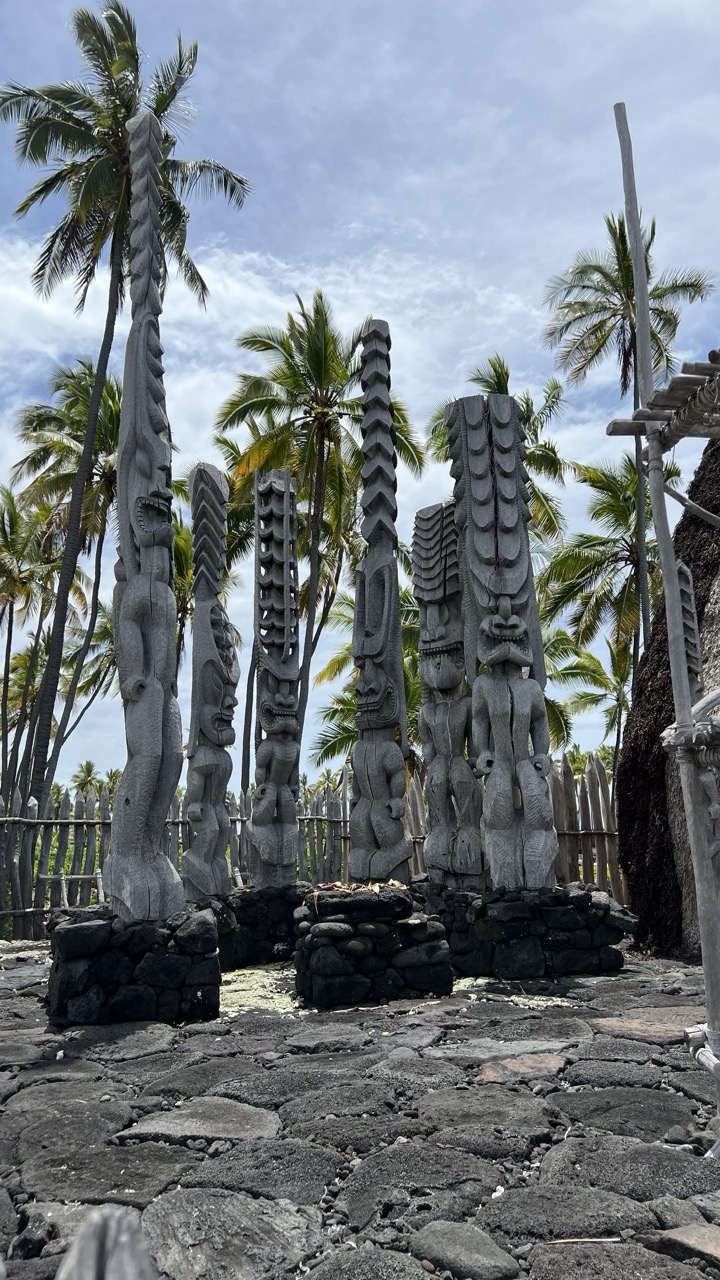
Stop 2 – Pu’uhonua O Honaunau National Historical Park
This is a culturally significant place for the Hawaiian people and you can learn more about the ancient practices and rituals of the native Hawaiians here. Its often called the ‘Place of Refuge and its right on the water with these dramatic black lava flats and towering palm trees (as shown below in the pictures) which makes a beautiful scenery.

Stop 3 – Kalae (South Point)
This is where Polynesians first landed and this historical area is the southernmost point of the Hawaiian Islands and the second southernmost point in the United States.. The views of the Ka Lae cliffs are expansive and wild. We even saw ruins of an ancient temple.
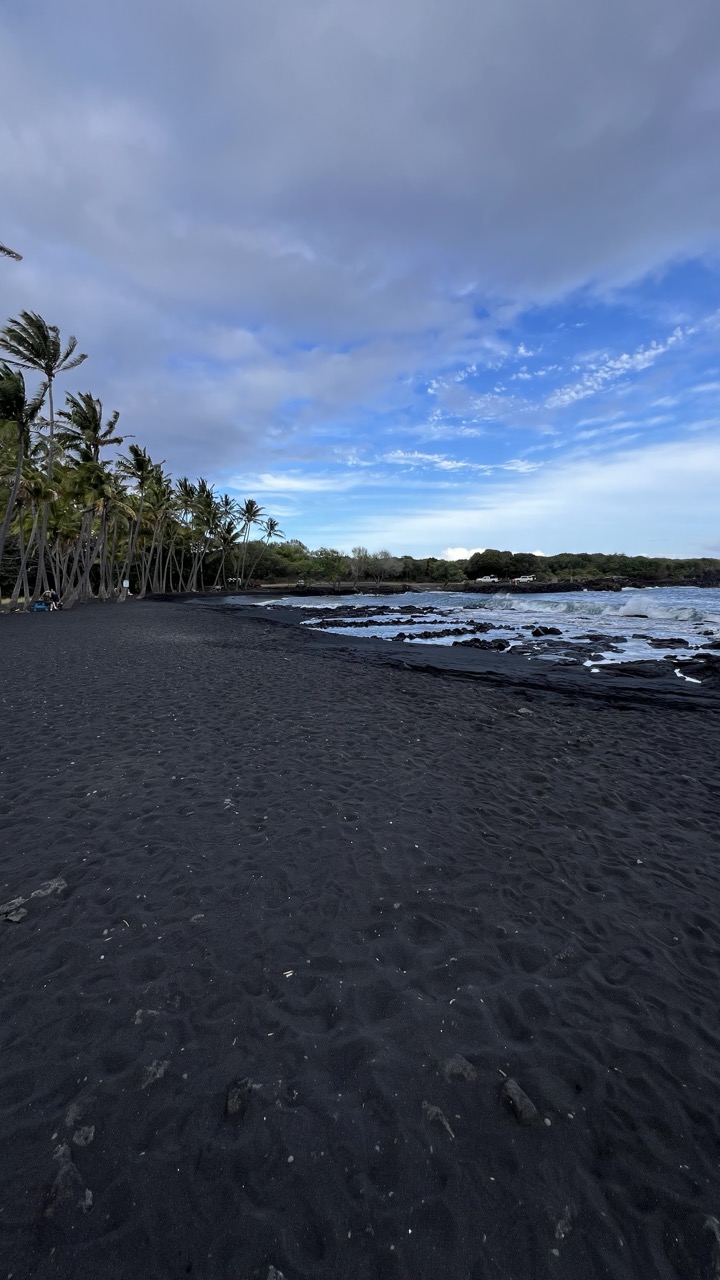
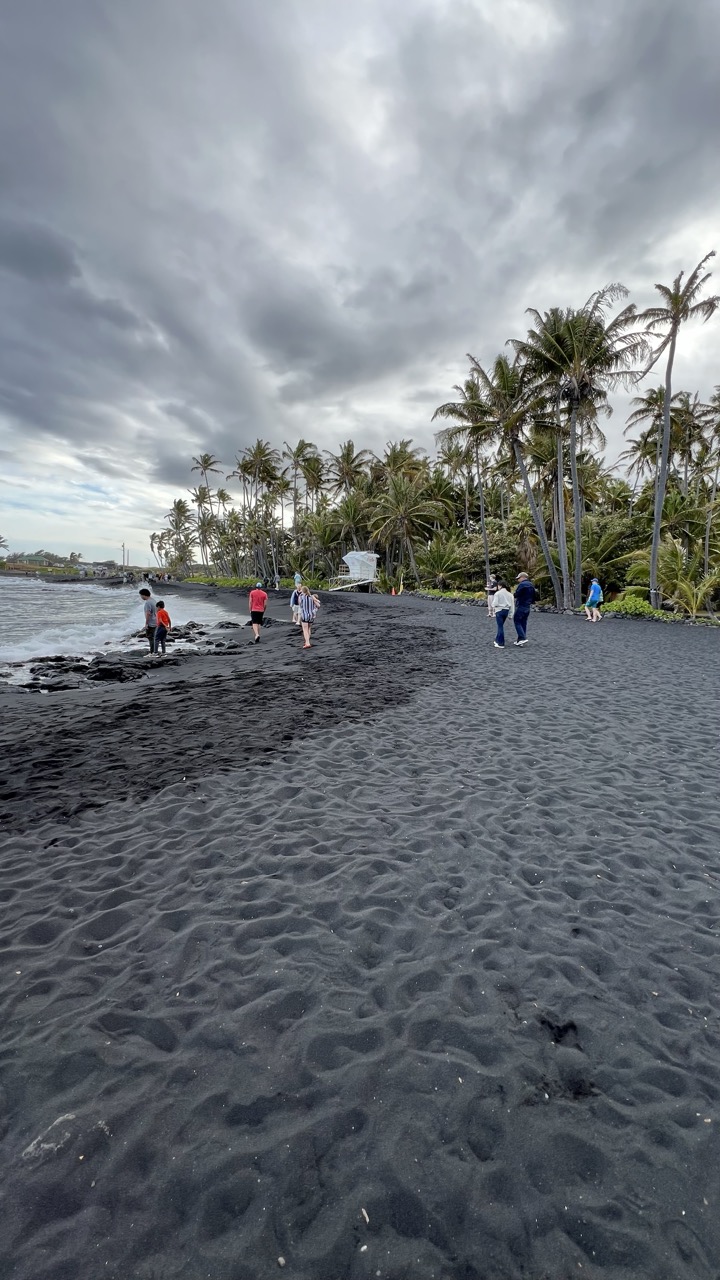
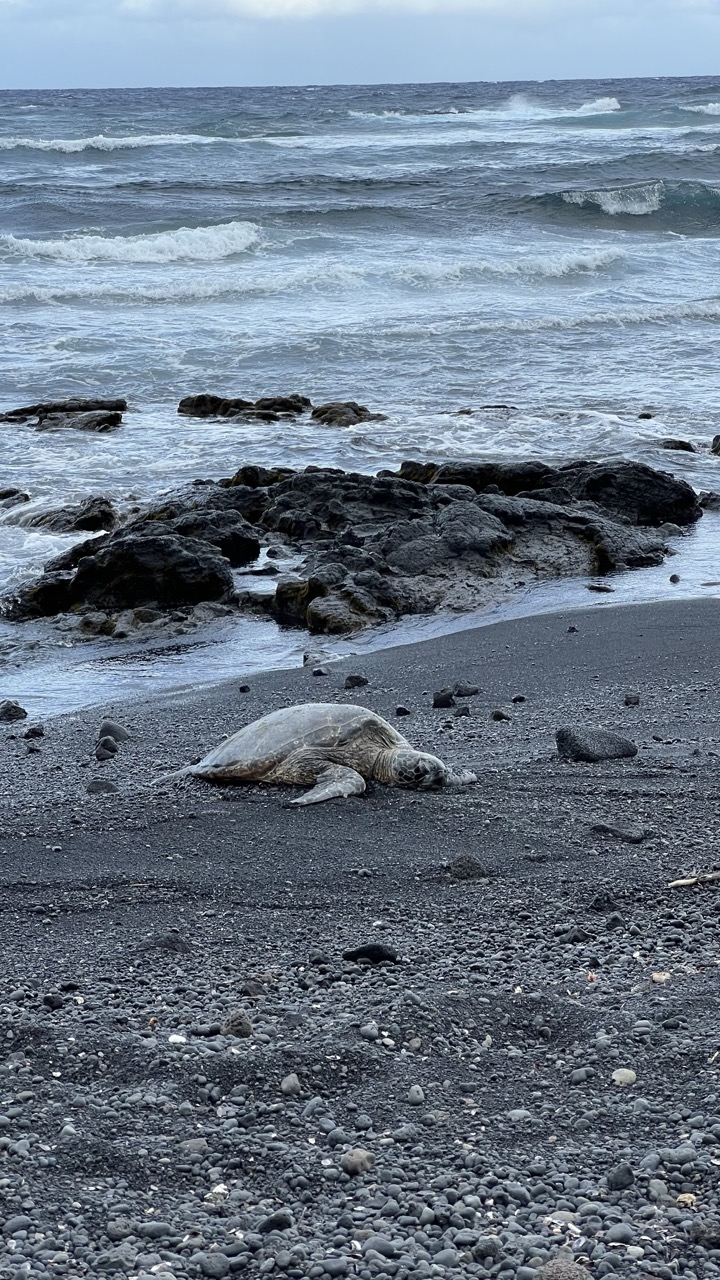
Stop 4 – Punaluʻu Black Sand Beach
Keep an eye out for sea turtles (see the third picture below)! The sand was jet black and so unreal.

Stop 5 – Volcano Village
Volcano Village is a rustic village in the middle of a lush rainforest and is famous for its beauty and tranquility. We drove through this village, grabbed dinner here and then checked into the airbnb on the eastern side of the island, close to the village.
DAY 4 – HAWAII VOLCANOES NATIONAL PARK
This was the most awaited day for me from our entire trip because I was excited to see the Lava rocks and the craters.
Pack a sweater for today! The elevation makes it much cooler than the coast. Here is the google map link for this day.
Stop 1 – Kilauea Iki Crater
We did the short hike down into the crater. Its a 4 miles round trip with medium difficulty level and it truly feels like walking on another planet. If you only plan to do one hike through the entire trip, then this would be the one I’d recommend.
Tip to avoid crowds: Park at Devastation and do the 6-mile loop from Byron Ledge. The scenery includes panoramic views of Kīlauea caldera, Mauna Loa (on clear days), and native forest with tall tree ferns.. Also, start the hike as early as you can to beat the crowd.
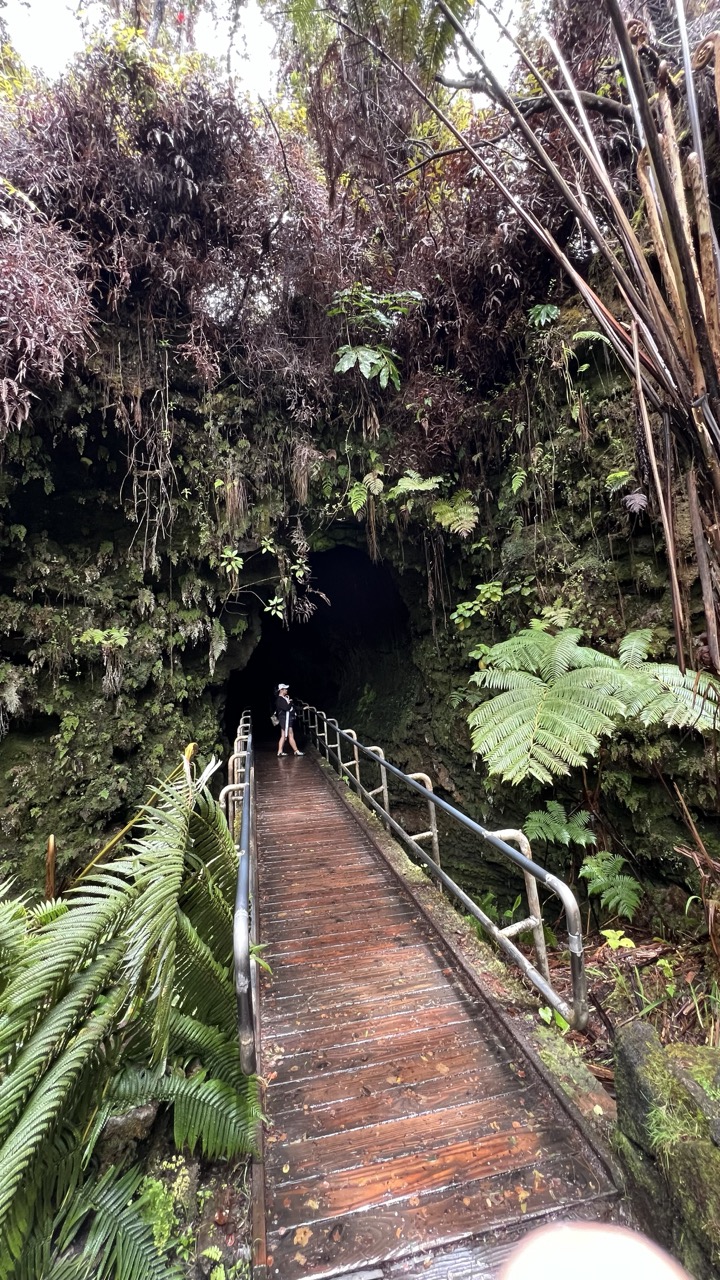
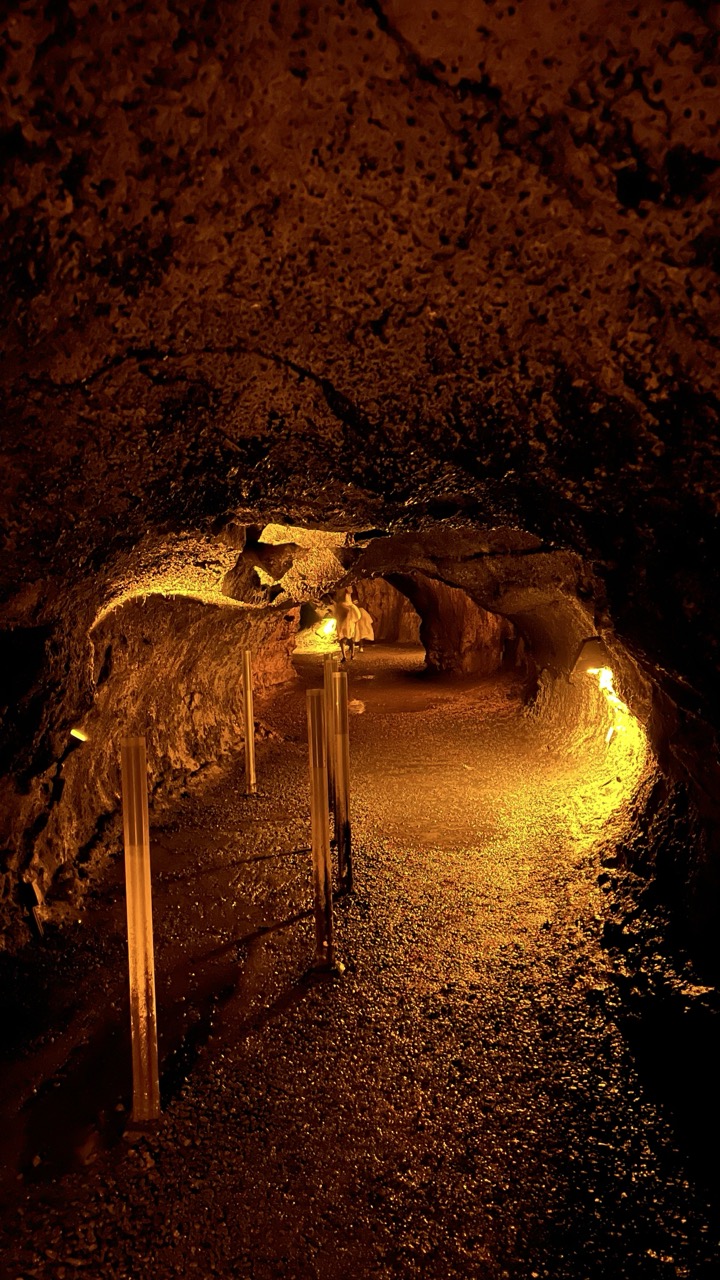
Stop 2 – Thurston Lava Tube
A quick, 20-minute walk through a tree-fern forest leads you into an illuminated lava cave. It is an easily accessible and very interesting lava tube close to the Kīlauea Iki parking lot. You can park at the Kīlauea Iki Overlook which is connected to the lava tubes by a very scenic half-mile hike. This was our first time visiting a lava tube and it was insane!
Stop 3 – Mauna Loa Strip Road – Scenic drive to the Mauna Loa Lookout
The Mauna Loa Strip Road is an 11.2 mile (one way) road which takes you to the Mauna Loa lookout point at an elevation of 6,662 feet (2031 meters). So we took this scenic route and it rewarded us with these expansive, panoramic views of the Kīlauea caldera and the coast far below. The views of the landscape were gorgeous from the top so I highly recommend this drive but keep in mind that this is going to be a bit of a climb for your rental car so plan accordingly.
Stop 4 – Chain of Craters Road Scenic Drive
If you have the energy, drive all the way to the ocean where the road literally disappears under a sheet of lava.
Stop 5 – Night Viewing
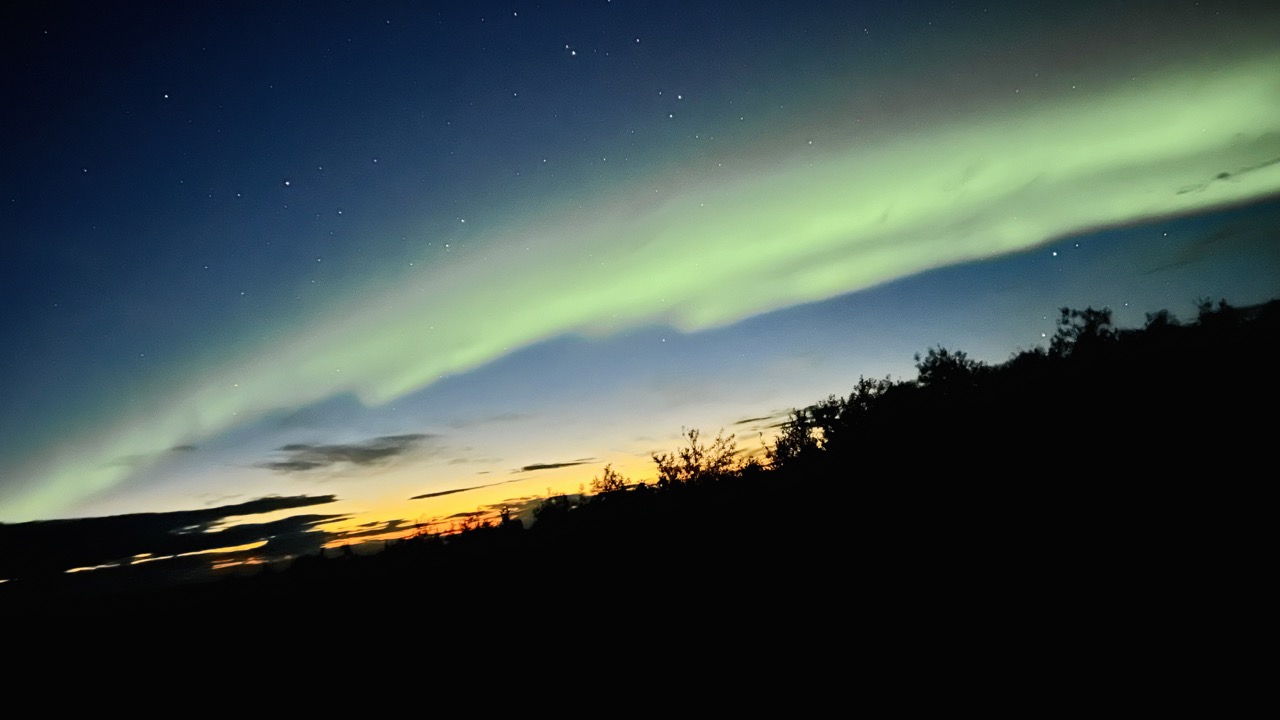
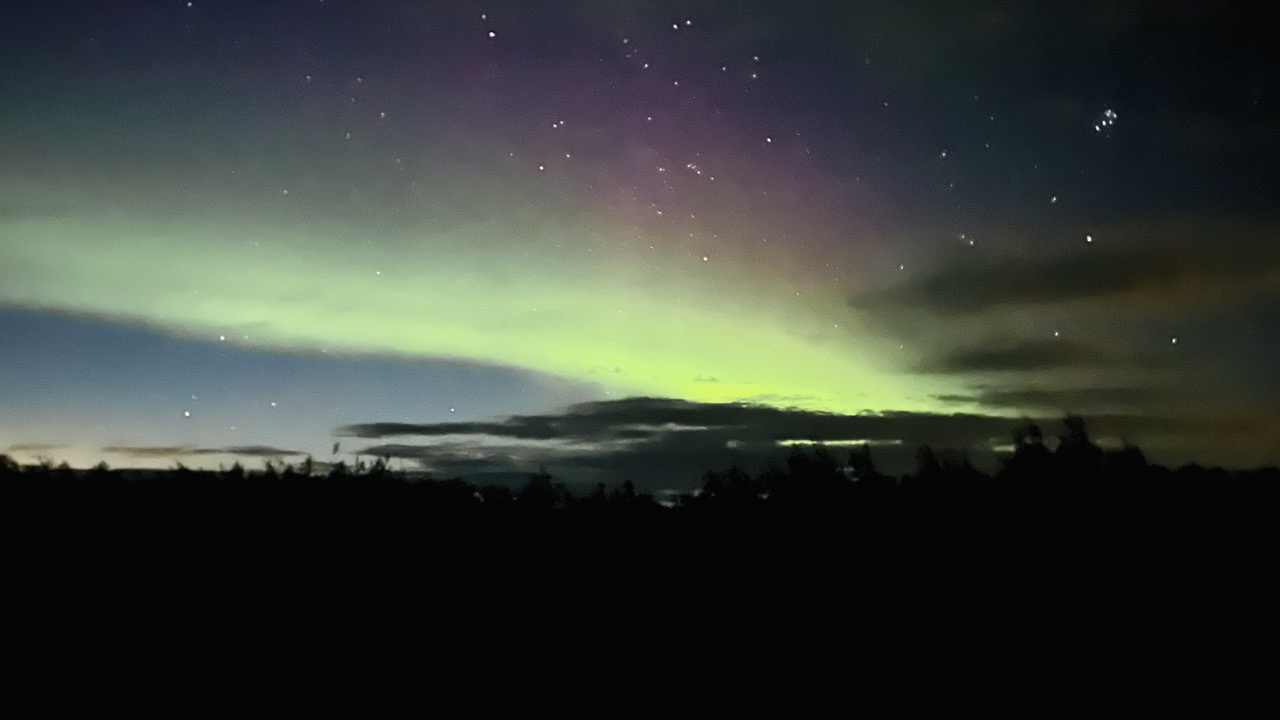
We went to the Jaggar Museum parking lot (the museum is closed but the lot is open) and walked to the fence to see the glow of the lava lake. It’s a “once-in-a-lifetime” sight so I highly recommend doing it in the night.
DAY 5 – HILO TOWN AND RAINBOW FALLS
This day was all about exploring the town of Hilo on the eastern side of the island.
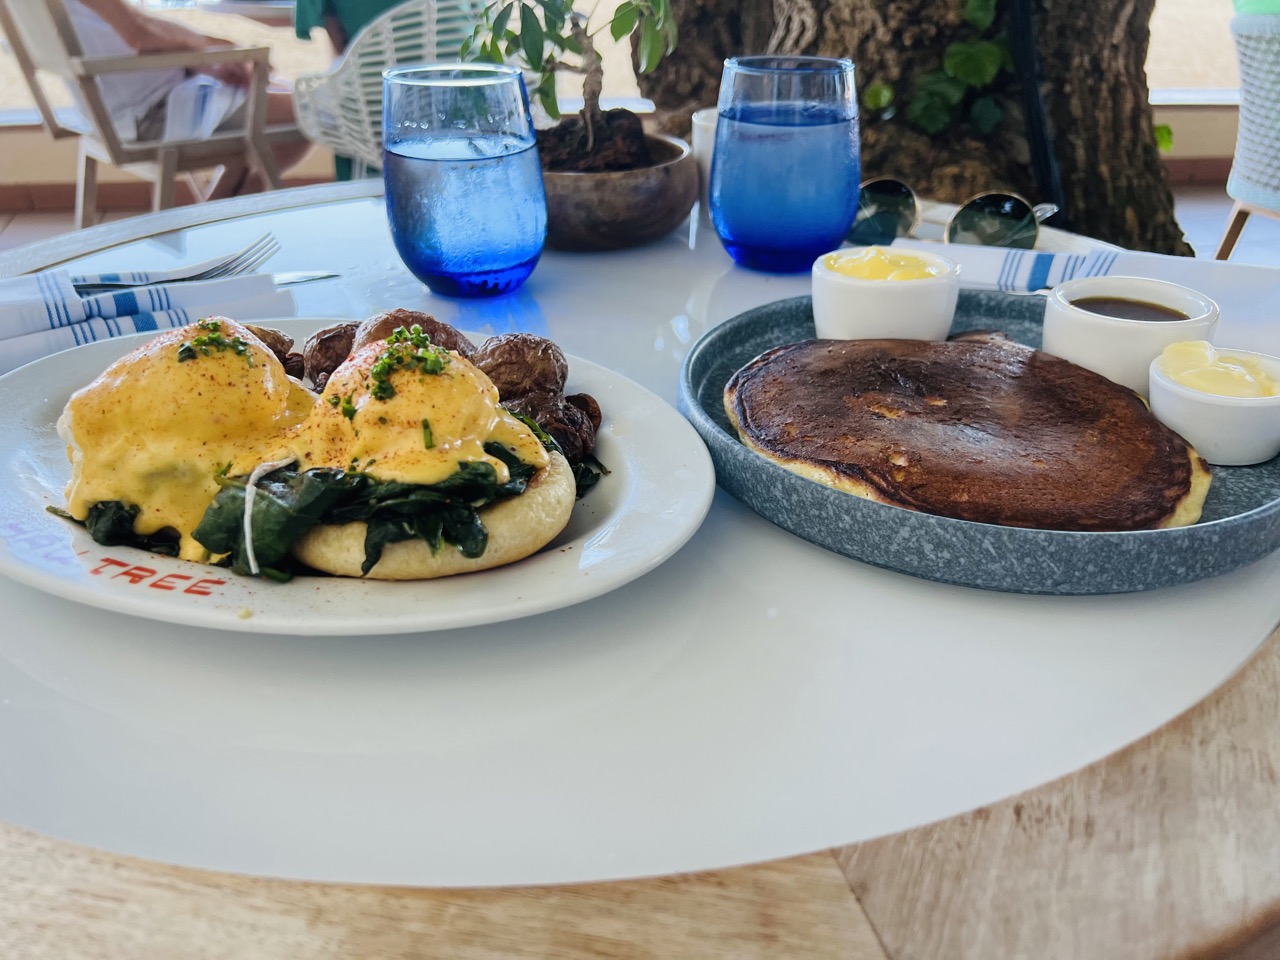
Stop 1: Breakfast at Ken’s Pancake House
A total island staple. This is a very famous spot for breakfast and their pancakes are to die for!
Stop 2 – Hilo Downtown
We spent the morning walking around the shops and enjoying the downtown vibe. If you’re up for a history lesson, try visiting the Tsunami museum. Or you could also visit the Hulihe’e Palace which is the summer home of the Hawaiian ali’i like King Kalakaua and Queen Kapiolani. Or you could try some more Kona coffee at the Kona Coffee And Tea Company or some chilled beer at the Kona Brewing Company. There’s plenty of places to eat and drink at in the downtown so you could spend a couple hours here and grab lunch before heading to the next stop.
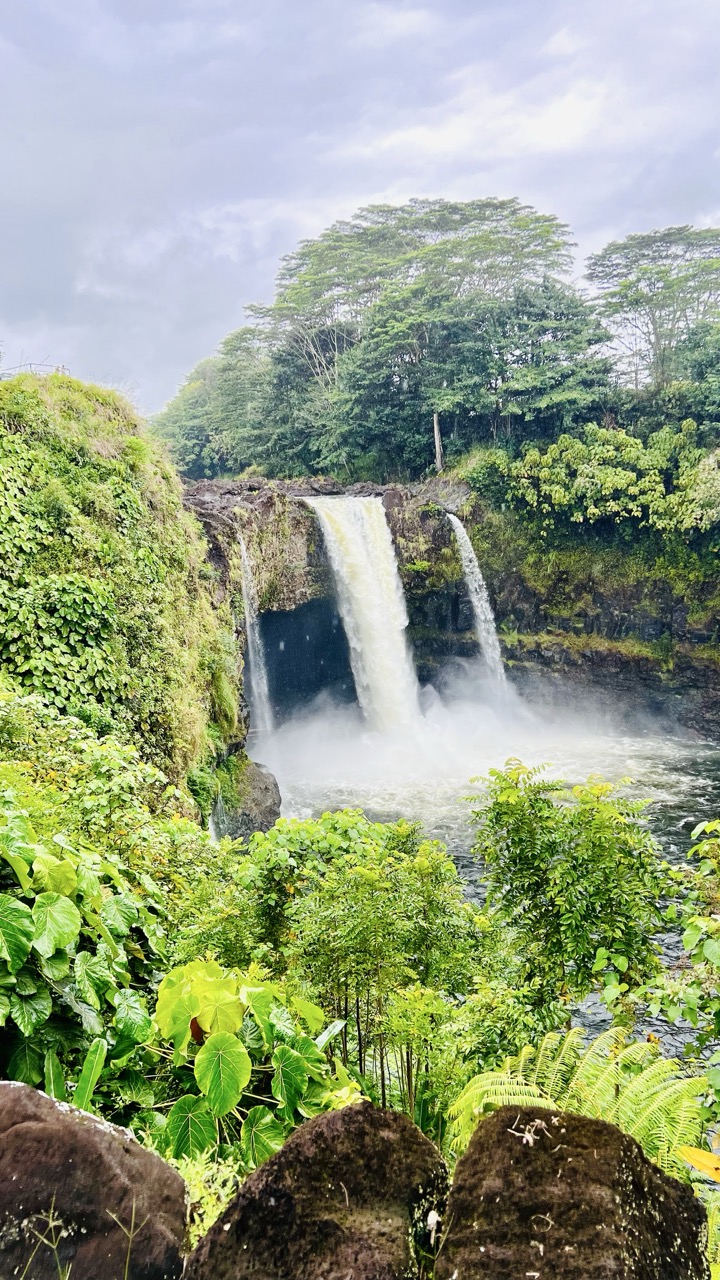
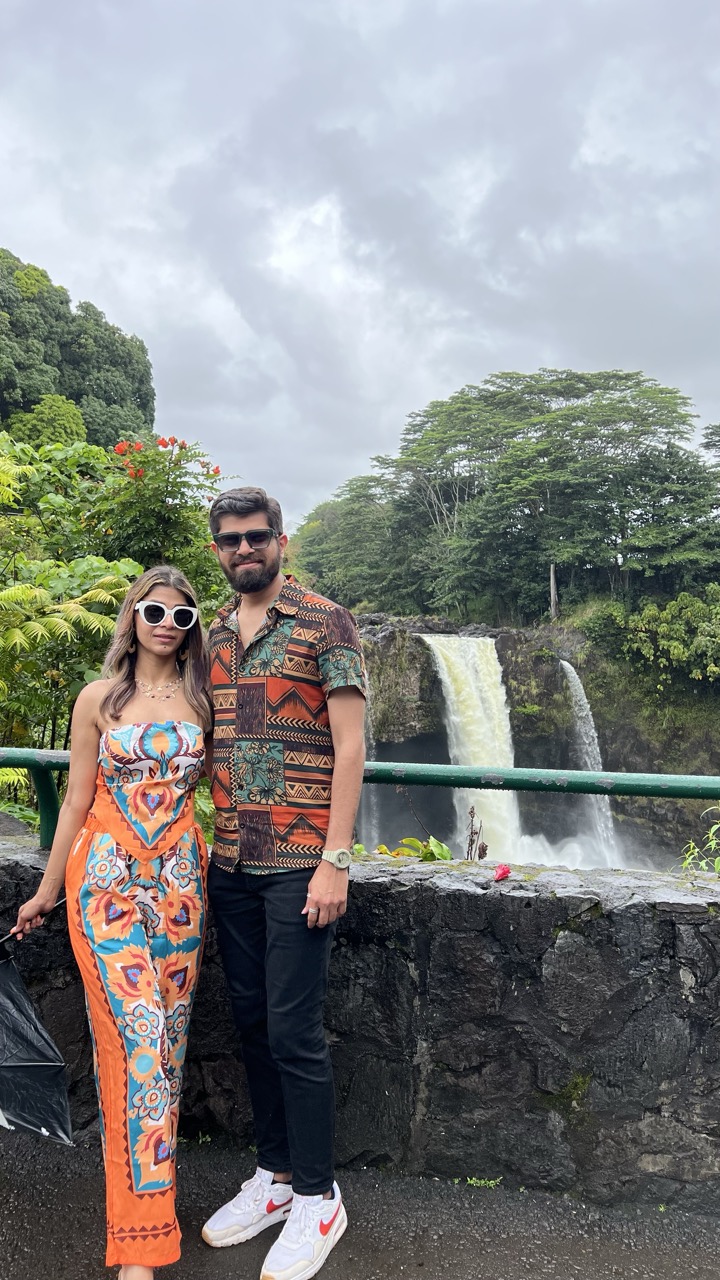
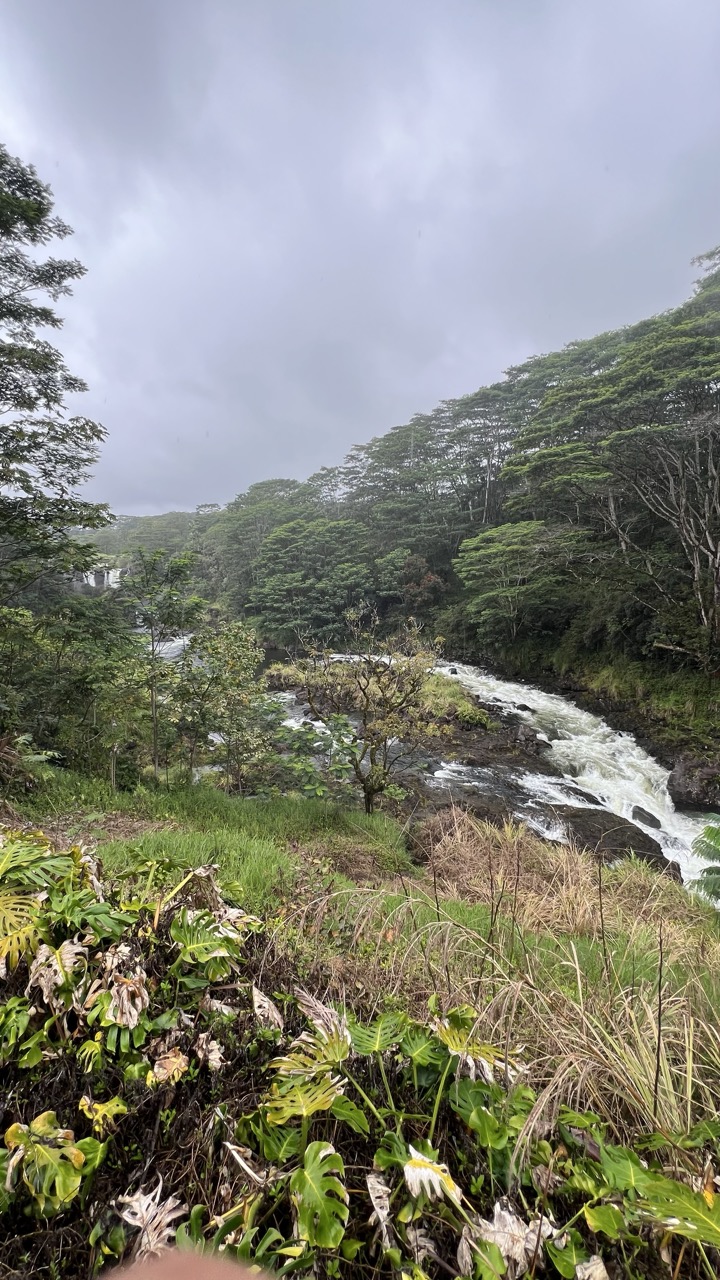
Stop 3 – Rainbow Falls
A short hike to the top of the falls. If you go in the morning, you might actually see the rainbows in the mist! It is a massive 80-foot waterfall within Hilo town itself.
Stop 4 – Onomea Bay and Liliuokalani Park
One of my absolute favorite scenic detours was the Onomea Bay drive. We took the ‘4-mile scenic route’ off the main highway, and it honestly felt like driving through a tropical tunnel—everything was so incredibly green and lush. We got a bit of light rain on our way which made the greenery look even more beautiful. We also stopped to walk a bit on the Onomea Trail, which leads you down toward the bay, and the view of the turquoise water crashing against the jagged cliffs is just stunning. It’s the perfect spot to pull over, stretch your feet, and just stare at the ocean for a bit—definitely a ‘must-do’ if you’re exploring the Hilo side!
We ended the day with a beautiful Japanese-style garden right by the ocean called the Liliuokalani Park. Admission is free to I would highly recommend checking this place out.
DAY 6 – THE HAMAKUA COAST
This was our last day on the island so we decided to take the scenic route back to the airport through the East part of the island.
Here is the link to our google map for this day.
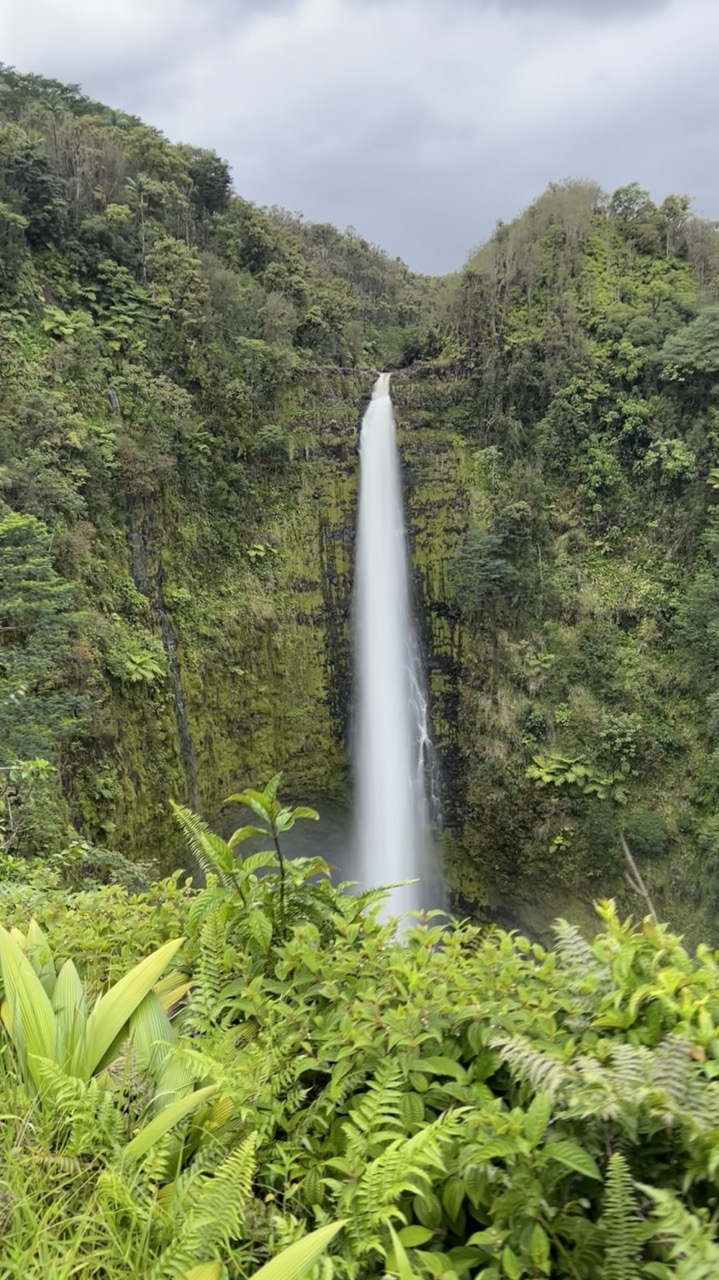
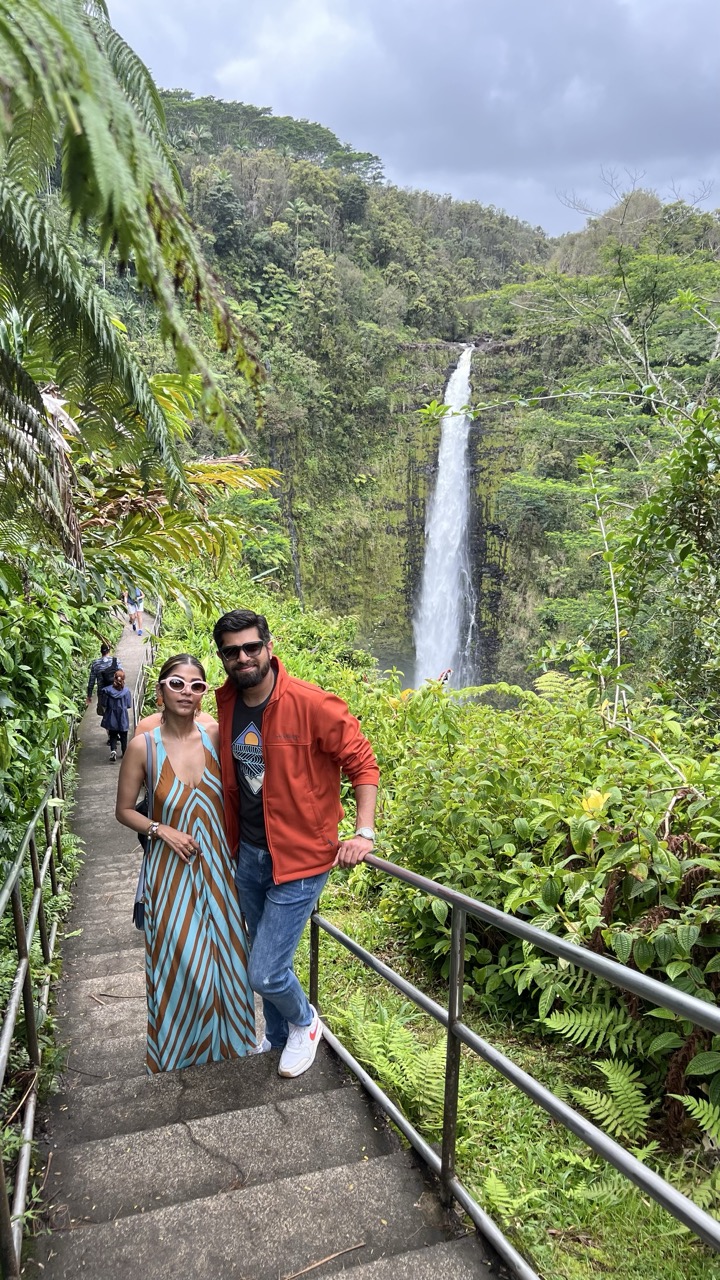
Stop 1 – Akaka Falls
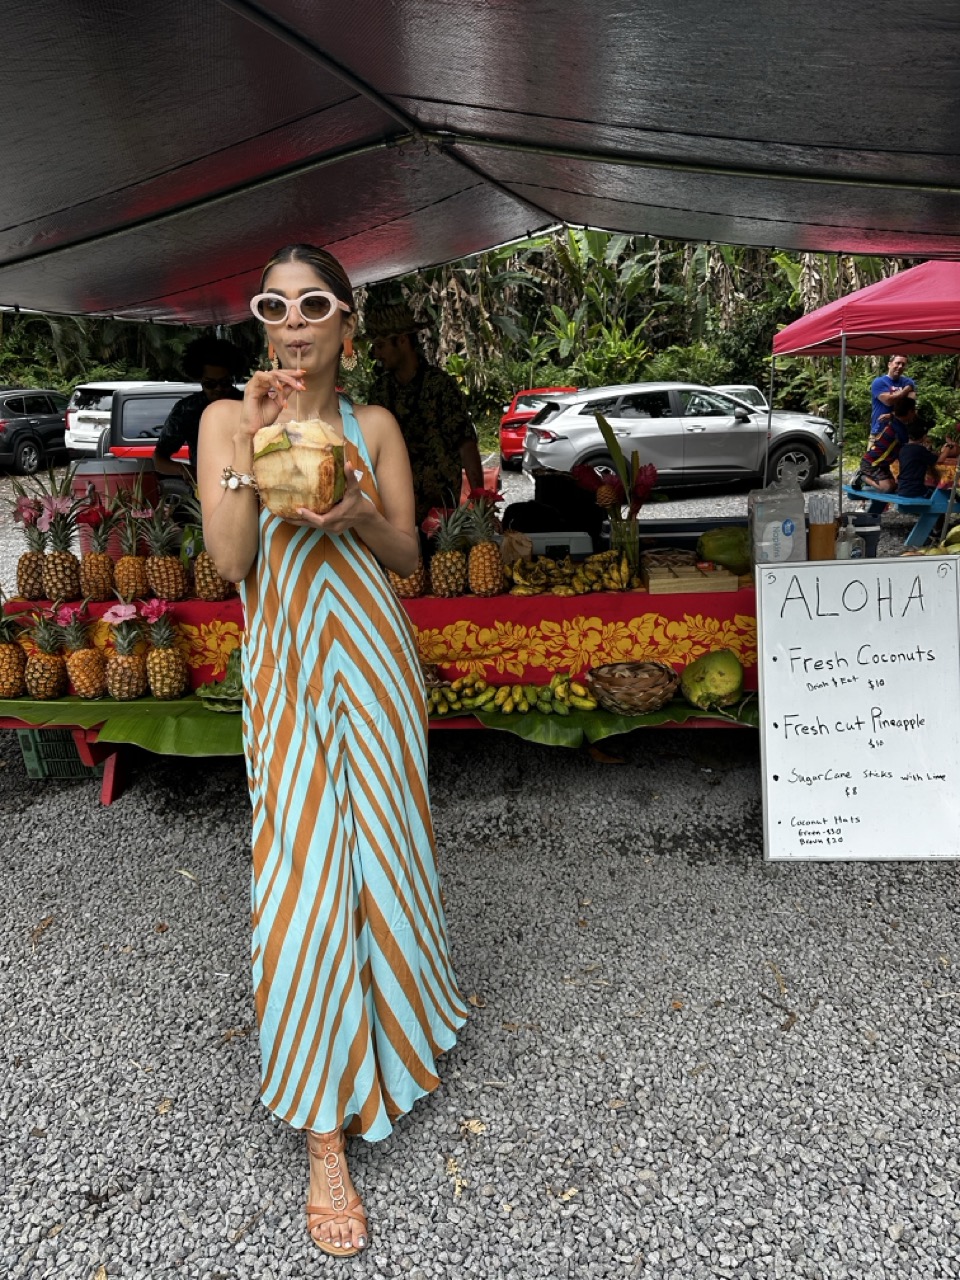
An easy 0.4-mile loop trail through a lush rainforest leads you to a massive 442-foot waterfall, which is the most famous waterfall in the state of Hawaii. There is a parking cost of $10 and an entrance cost of $5 per person for non-resident visitors. The hike itself is beautiful because it takes you through the rainforest, the view of the falls is stunning and we also had some coconut water on our way back which was really refreshing.
Stop 2 – Hamakau Scenic Drive
The Hamakua Coast drive along Highway 19 is honestly one of the most beautiful stretches of road I’ve ever seen. It’s known as the ‘Heritage Corridor,’ and it takes you along the northeastern slopes of Mauna Kea, where you’re constantly surrounded by deep green gulches, towering sea cliffs, and waterfalls tucked away in every corner. We loved that it wasn’t just a straight highway—there are so many one-lane bridges and little pull-offs where you can see the ocean crashing against the rocky coast below. It feels worlds away from the dry, volcanic landscape of Kona, and it was the perfect way to spend our last morning soaking in the lush, tropical side of the island. Again, most look out points on this scenic drive were very windy so be prepared.
Stop 3 – Historic town of Honoka’a
We stopped in this historic town for lunch before the final leg of the drive. This town was once a bustling sugar plantation hub, and today the main street is lined with these charming, colorful wooden storefronts that house everything from antique shops to local boutiques. It has a much more rugged, authentic ‘cowboy’ (Paniolo) feel than the resort areas in Kona. If you have time, you could pop into the Honoka’a People’s Theater—it’s been around since 1930 and is such a cool piece of island history!
Stop 4 – Waipio Valley Lookout
Known as the “Valley of Kings”, its one of the most culturally significant spots for the native Hawaiians and a hotspot for the traditional cultivation of the locally prized “kalo” or taro crops. This lookout point offers some really stunning views of the valley.
Stop 5- Waikoloa Village
One last stop for a coffee before heading back to the Kona airport for our flight.
The Big Island really is a “choose your own adventure” kind of place. Whether you’re standing on the edge of a volcanic crater or driving through the lush tunnels of the Hamakua Coast, it’s impossible not to feel the raw energy of this island. It was the perfect way for us to celebrate our anniversary—even if it was a few months late! If you’re someone who loves being on the move and discovering those off-the-beaten-path gems, I hope this itinerary helps you plan a trip that’s just as memorable as ours was. Just remember to pack your hiking shoes, keep your gas tank full, and leave a little room for the unexpected magic that always seems to happen in Hawaii!
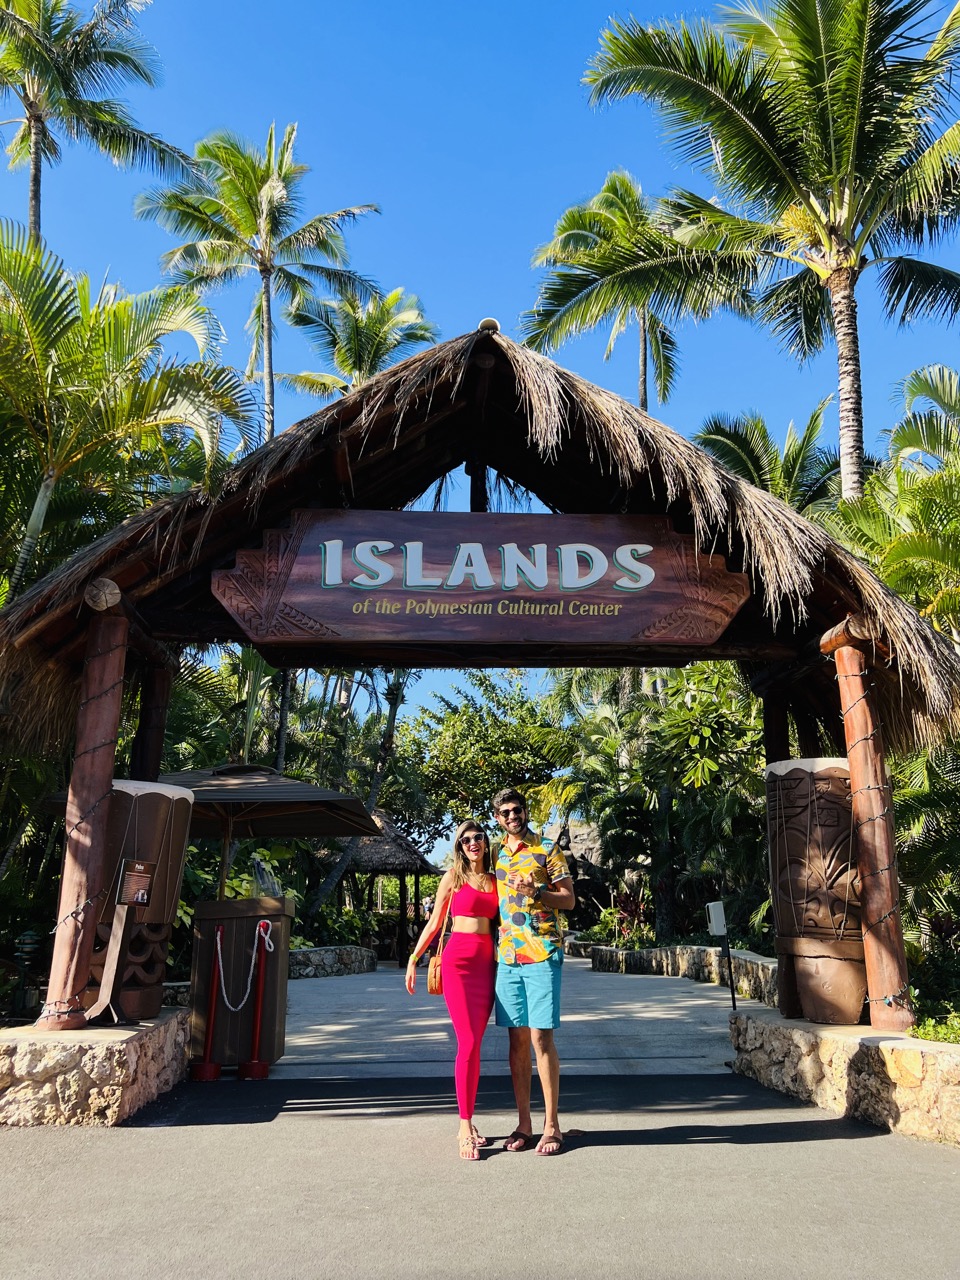
For itineraries on other islands in Hawaii such as Oahu, follow this link.